
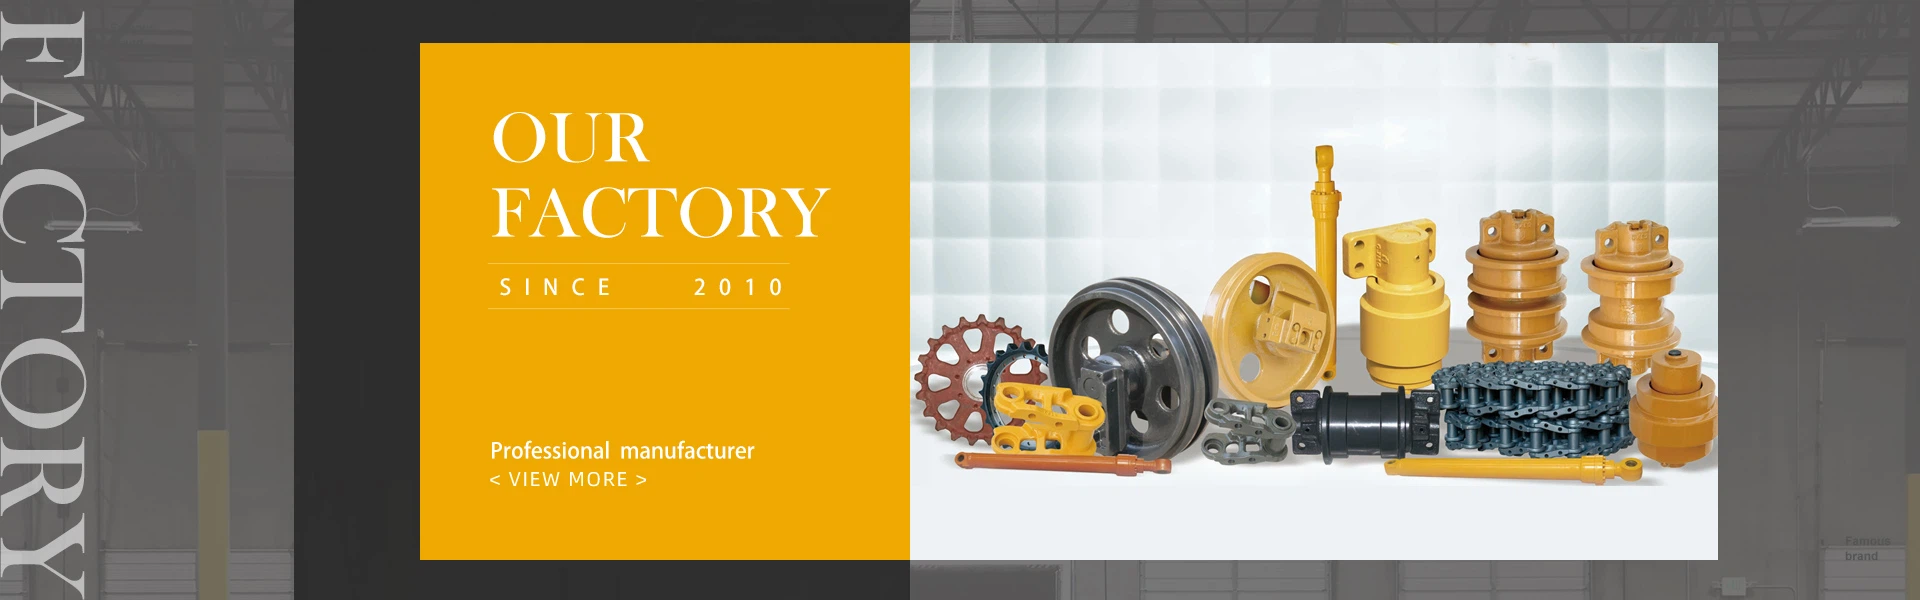
Installing the support wheels on an excavator can be a straightforward process if done correctly. Here are some positive and helpful steps to follow to ensure proper installation of the support wheels.
Step 1: Choose the Right Position
Select the desired location based on the directional control of the machine. This will help you make adjustments later as needed.
Step 2: Prepare the Area
Ensure the area is level and clean of obstacles that could interfere with the installation process. It is important to have a spacious environment.
Step 3: Lift the Excavator
Using a hydraulic arm or jack, position and lift the excavator, ensuring the support wheel is in place. Use precaution while utilizing the hydraulic arm and ensure the excavator is secure.
Step 4: Tighten Bolts
Secure the support wheel in place using bolts. Use a torque wrench to tighten the bolts to the recommended torque settings. Ensure that they are properly secured in place.
Step 5: Test the Connection
Slowly lower the excavator onto the support wheel and check for stability. Make any adjustments if necessary.
Step 6: Final Check
Once everything is secure, visually inspect the connection one last time to ensure everything is in place.
Excavator roller replacement tips: When replacing the excavator's rollers, you need to pay attention to the use of fixing bolts. When disassembling the roller, you must first determine whether the bolts can be removed, because you must determine whether the bolts of the roller are severely corroded and worn. If disassembly is difficult, it is not recommended to force disassembly. You can find a welder to perform heat treatment. If there is a broken wire, it will be even more troublesome. When installing, you can prepare a longer fixing bolt, at least twice the original length. First use a long bolt to fix a bolt hole, and then use a crowbar to lift the track wheel. This will make the installation faster and more convenient, because the track wheel is very heavy and manual lifting is not only laborious, but also inconvenient.
There are several steps to replace the rollers of the excavator:
1. Clean the dirt and debris from the walking frame and park the equipment on a flat area.
2. Use a wrench to loosen the pressure relief plug of the tensioning cylinder of the walking frame. Do not loosen more than one turn to prevent high-pressure grease from spraying out and injuring people.
3. Use the working device (big arm cylinder) to support the body, lift the track shoes, and use a pneumatic wrench to loosen the track wheel cover screws, but do not completely remove the screws.
4. Lift the boom cylinder, lower the track shoes, the track shoes are supported by the track wheels, loosen the screws and remove the tile cover, support the body again, and lift out the track wheels.
5. Install the rollers according to the disassembly sequence. The roller screws are coated with copper powder to prevent rust. After tightening it in place with a pneumatic wrench, you can use a scale (torque tool) to adjust the specified value to add weight.
6. After injecting high-pressure grease into the telescopic cylinder of the walking frame, measure the standard value when walking forward and backward. The gap at point a is about 10~30mm.
If it has not been replaced and the screw threads are still usable, it is very simple. Just remove the old ones and replace them with new ones. Use the new screws and add some screw glue. If the thread of the screw is no longer easy to use, it will be more troublesome. Use a screw that is longer than the original screw. You can use a screw with a nut and fix it with two nuts. However, this kind of screw will be easily damaged in the future. You also need to Do some welding. Replacing excavator rollers requires attention to safety and details to ensure firm installation and normal use.